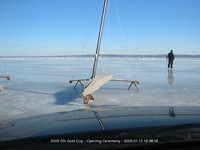
Repairing 5156 - Day 1
The next installment of the story is here.
I had a fairly serious collision in the first Silver-fleet race of the GC. Luckily, everybody walked away, but the boats weren't so lucky. Mine got away "lightly", with some major splits in the port side, a hole a bit forward, and a bent chock. A quick look at the damage at Richard Wollam's shop that night showed there was too much to repair before the end of the regatta, so I accepted Richard and Julie's offer to use their spare hull for the rest of the regattas (Thanks again!).
Once I got home Saturday after the NAs were completed, I took the hull and plank straight to Jim Nordhaus' Boatwerks. Sunday, I started carefully investigating the damage and planning the repair. The main problem is that there are a number of sideboard cracks of varying severity. The main one is big enough that you can see through it, and the sideboard is "sprung" with the upper and lower parts offset from each other.
Today's effort was directed at carefully assessing the damage and starting to form a plan of attack for the repairs. The main question was how serious the main crack was, and how many other smaller cracks needed to be fixed. The hole forward of the mast-step looked pretty straightforward to repair with a scarfed in piece of wood.
The first order business was cut away the unidirectional fiberglass from the inside of the cockpit wall where it was torn away from the wood, then feather the edges. This allowed be to get a better look at the damage, especially around the knee and aft end of the cockpit. Next, I removed the Vinyl numbers with a heat gun and spatula. Before starting to sand the outside, I marked anything that looked like a crack surface with a Sharpie marker, hoping that the ink would be drawn trough the cracked epoxy and into the wood so I could see it after the epoxy was sanded away. The DA removed the epoxy fairly quickly.
With the prep work done, I examined the cracks carefully.
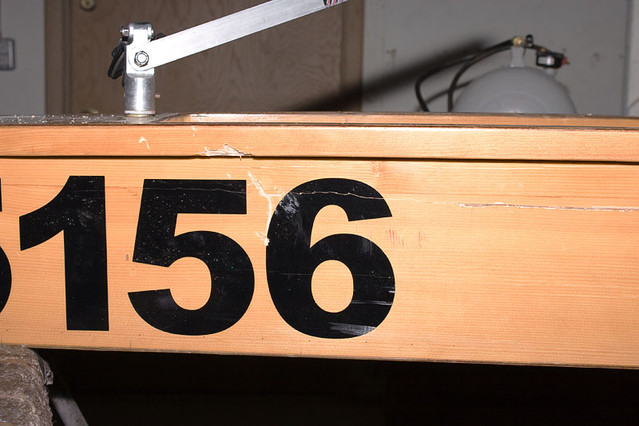
The main crack starts forward somewhere near (maybe ahead of) the cockpit bulkhead:
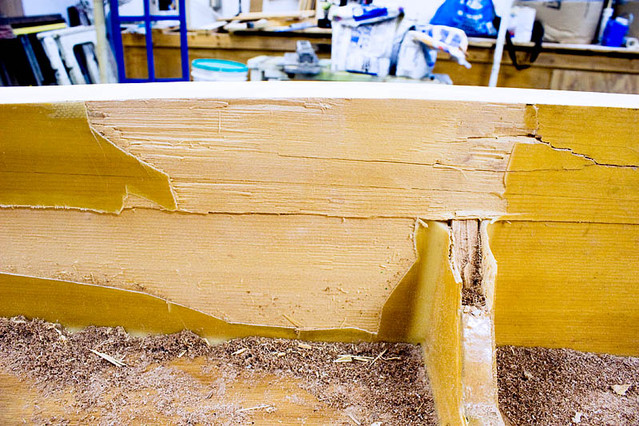
and continues to the knee area, where it splits into two, with one section continuing along in the sideboard, and another splitting off up to the grab-rail:
The lower crack continues along stopping forward of the the seat-back, while the upper portion continues to the end of the grab-rail:
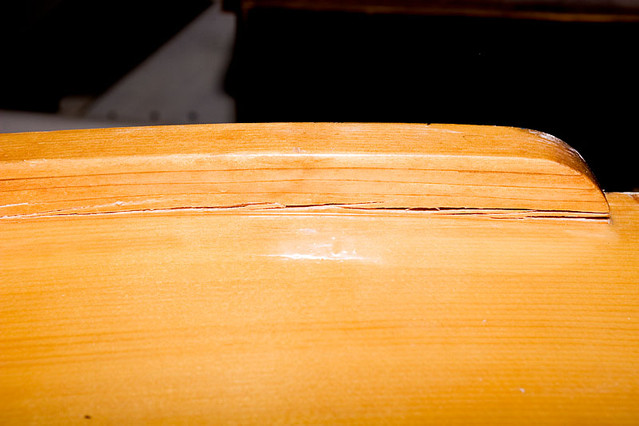
... and ends in the sideboard just aft of the seat-back support:
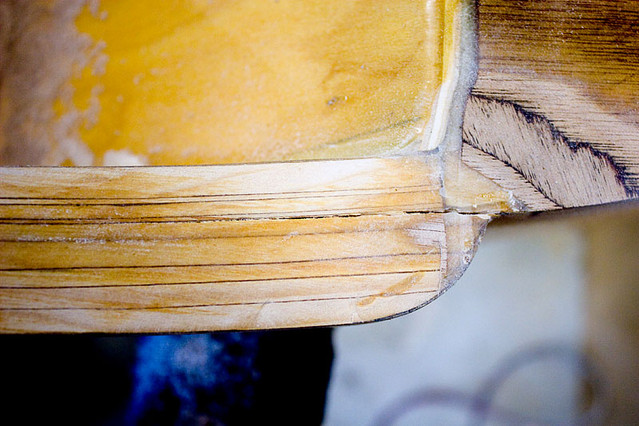
Most of the other cracks are pretty small, and I think JD's shop-vac technique should work for them. It appears that the first order is to glue of the main crack and get the sideboard into one plane again. There shouldn't be any problem getting glue in there, since the crack is about one mm wide. The plan is to mask off all but the main crack, fill it with thickened epoxy, and clamp the sideboard so it's flat again. With the sideboard mostly intact, we'll attach the vacuum to the outside and get glue into all the smaller cracks in one operation.
I still have some concern about the damage right at the knee. There are multiple cracks and some crushing damage to the fibers in a relatively small region. I'll probably apply some reinforcing fiberglass there to try and add support to the compromised wood fibers.
So far, about six hours into the job...
- GeoffS's blog
- Login or register to post comments
- 3841 reads
